Ashlocks Cremation Jewellery Filling
These instructions are important to follow to ensure your Ashlocks jewellery isn't damaged during the filling process. Please read them in full.
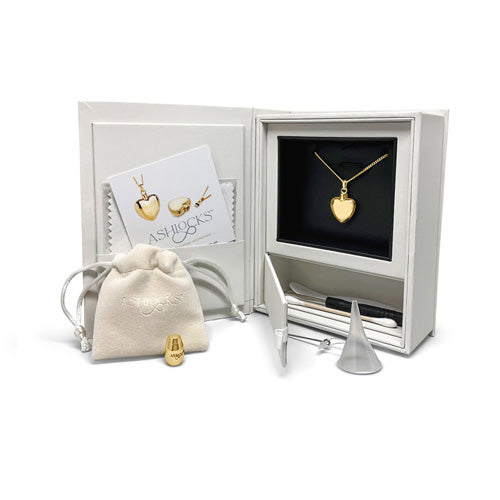
It is understandable that some people don't want to fill their cremation jewellery themselves. If you feel at all uncomfortable about this process you may like to know that many of our customers have taken their jewellery to their local funeral home for filling. Everything the funeral director will need (accessories and full instructions) is supplied with your order. We recommend that you phone your local funeral director ahead to discuss this option with them should you wish to have it filled this way. A filling fee may apply.
Pendants with a screw port opening require extra care when opening and closing to ensure the screwdriver does not slip and scratch the surface.
- Remove pendant from chain and unscrew the opening either by hand (for screw top bail), or with the small screwdriver provided (for screw openings). If you have a screw top bail which is tightly shut you can use the small metal rod supplied through the top fixed ‘loop’ as a lever to open it. Simply feed it through the fixed loop, grasp at the middle (close to the pendant) and gently twist.
- Place the end of the funnel provided into the opening. Carefully spoon a small amount of only the finest ashes into the funnel. You may need to stir the ashes around in the funnel with the clearing tool to allow them to go through. The pendant should only be filled to about 90% of capacity. NB: If the opening of your pendant is particularly small, it can sometimes be easier to use a folded piece of paper to ‘slide’ the ashes into the pendant. Simply fold a piece of paper and open it up again. Place some of the finest ashes along the crease of the paper and point the outside edge of the crease into the opening. When tilted the ashes will slide along the crease and into the pendant.
- After filling, clean the opening and screw thoroughly with the cotton tip supplied. At this stage if you replace the screw, or twist the top bail back on, your pendant will be safely secured. If you feel any resistance while closing please stop, clean the threads, and try closing again.
FURTHER SEALING
To further seal your pendant you can use a small amount of clear two part metal adhesive. Most hardware stores will have this. It is best to use an adhesive which takes a few minutes to set as you may need to adjust the alignment. (We do not recommend using superglue as it dries too quickly.)
Please ensure that the threads are completely clean to ensure good adhesion and remove the neoprene 'o' ring. Using a toothpick or similar, apply a very small amount to either the threads or the inside of the threaded opening and carefully screw shut. Be sure that none of the adhesive spills on to the pendant - if it does you can try to remove it by quickly wiping it with a soft lint-free cloth.
Allow at least 24 hours for your pendant to completely set. NOTE: Even when secured this way, your pendant should never be fully immersed in water for long periods of time.
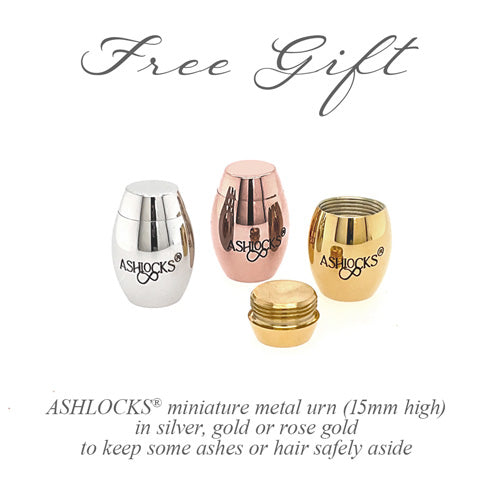
IMPORTANT: Be sure to keep some ashes aside in the free Ashlocks miniature urn supplied, just in case your pendant is ever lost or stolen.
Detailed instructions are sent with every order.
Thank you.